Quick Start Guide for Teachers
How to create a Class
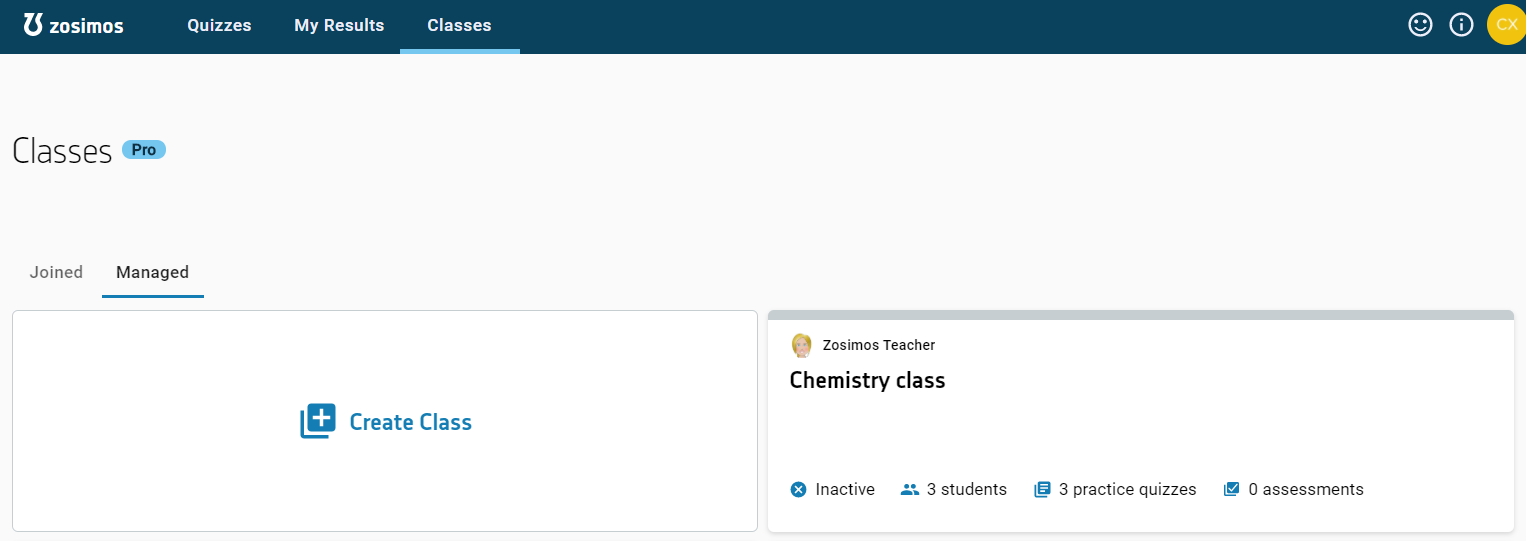
Click Classes and go to the Managed tab and then click Create Class.
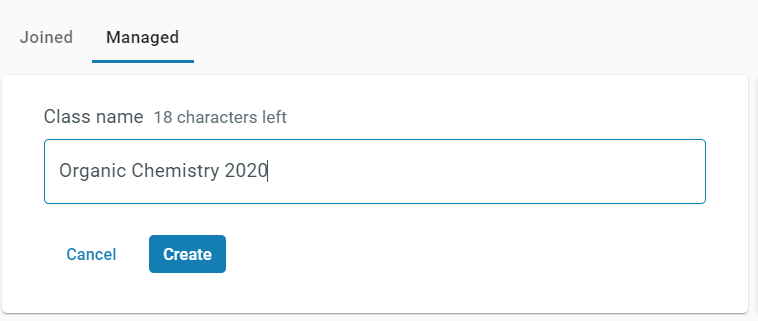
- Add a name to your class first and then click Create.
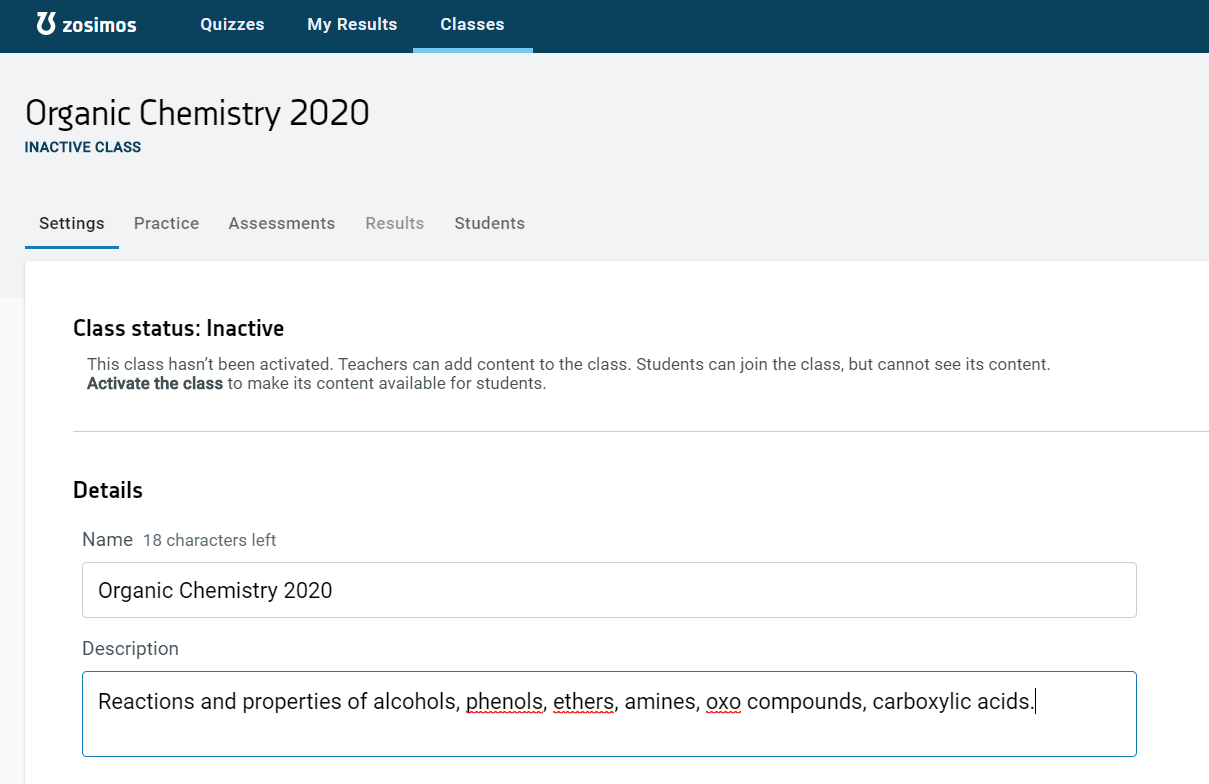
- Optionally, you may want to add a short description to the class too on the Settings tab of the created Class.
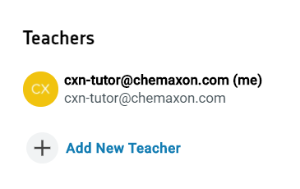
- If you are co-teaching a class, you can also invite your colleagues or teaching assistants to the Class on the Settings tab by clicking Add New Teacher. They will be listed as Teachers too and they will be able to perform the same actions in the Class as the original teacher.
How to invite students
Click the Students tab in the Class view and and look for the Student invitation link. Click Copy Link and place the invitation link in a document that you are planning to share with your students (for example in your syllabus, course description, email etc…). Please note that students must enter the class via this link first. They will be able to open assessment and practice quiz links only after entering the class via the class link.
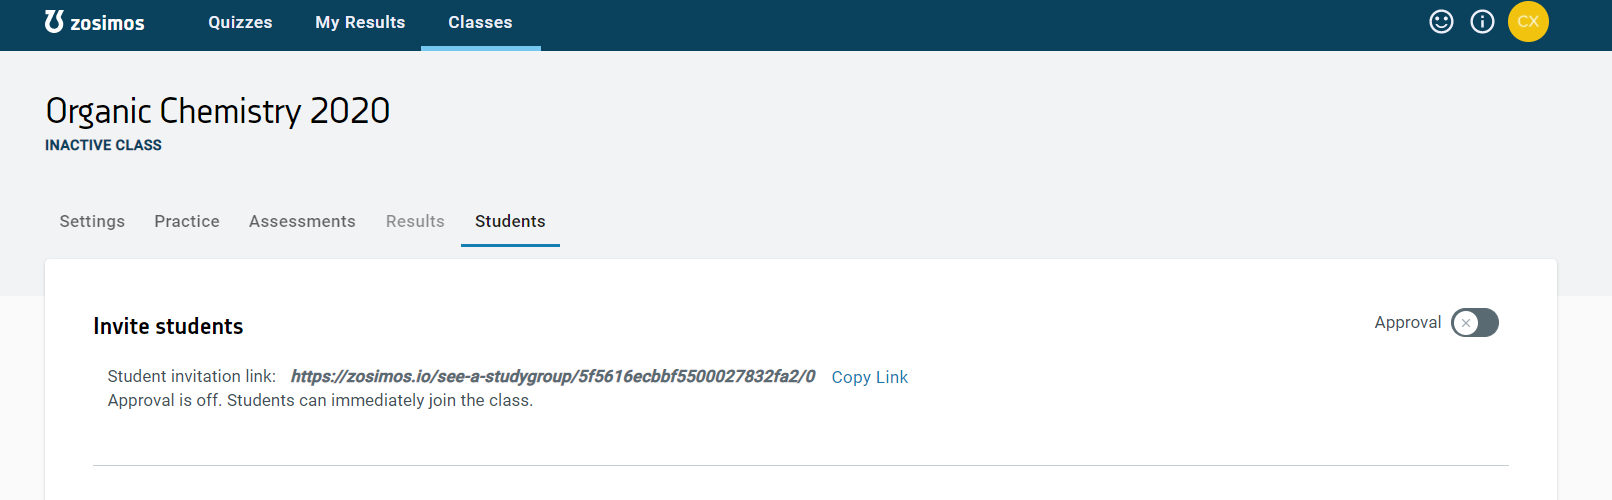
Please note that students can join freely without explicit approval by default. If you would like to better control who gets access to your Class, please set the Approval switch to ‘on’, so that students can join the class only with your explicit permission.
How to activate your Class
Once you created a Class, you can freely add content (practice quizzes, assessments) to it and invite your students. However, you must activate your class if you would like to provide your students access to the content. In active Classes, students can complete practice quizzes and assessments and you as a teacher will be able to track their progress and look into their results in more detail. Please note that your students in an active class will count as active students in your subscription. Students are only counted once, even if they are enrolled in multiple Classes.
Press the Activate Class button on the Settings tab of the created Class.
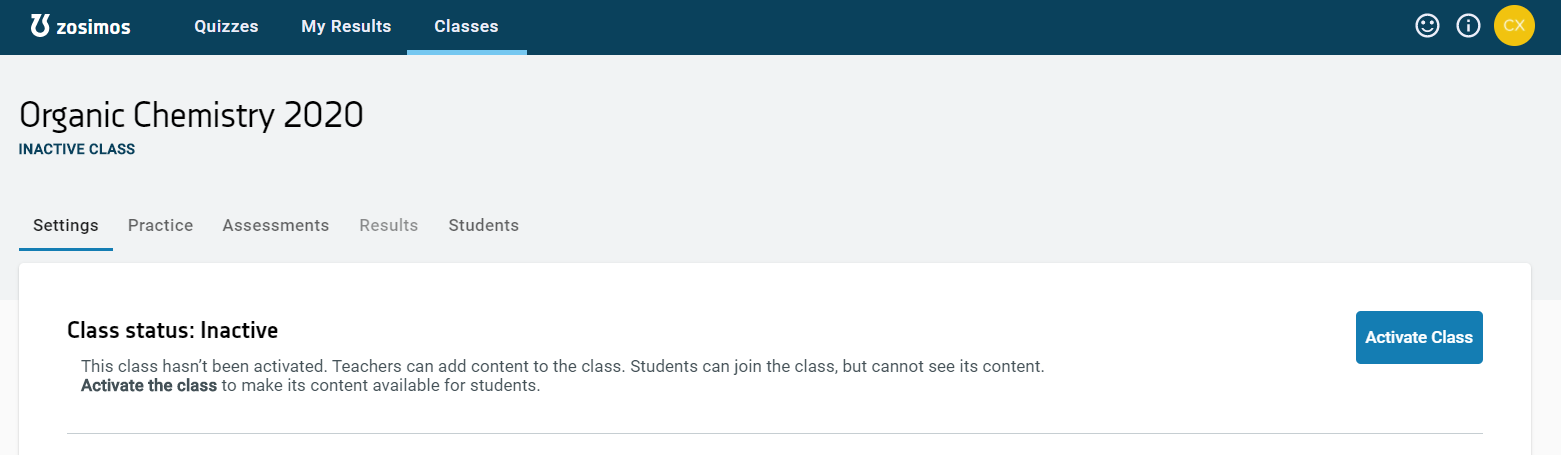
Unable to activate your Class? Please check https://zosimos.io/pricing for details on our plans and pricing or set up a trial to start experimenting with Zosimos to support your teaching.
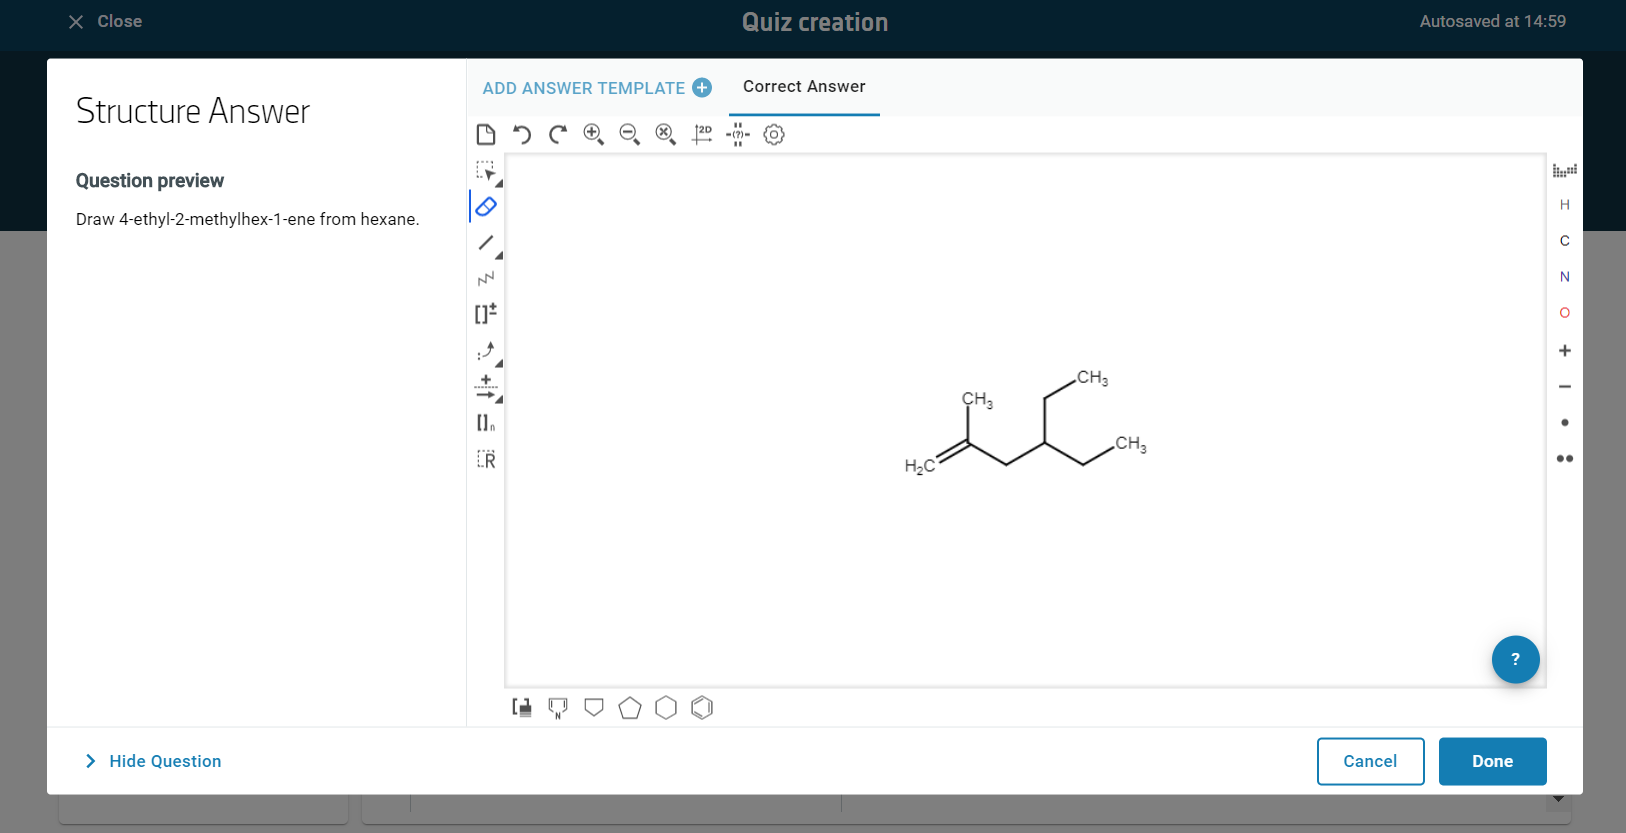
How to create quizzes
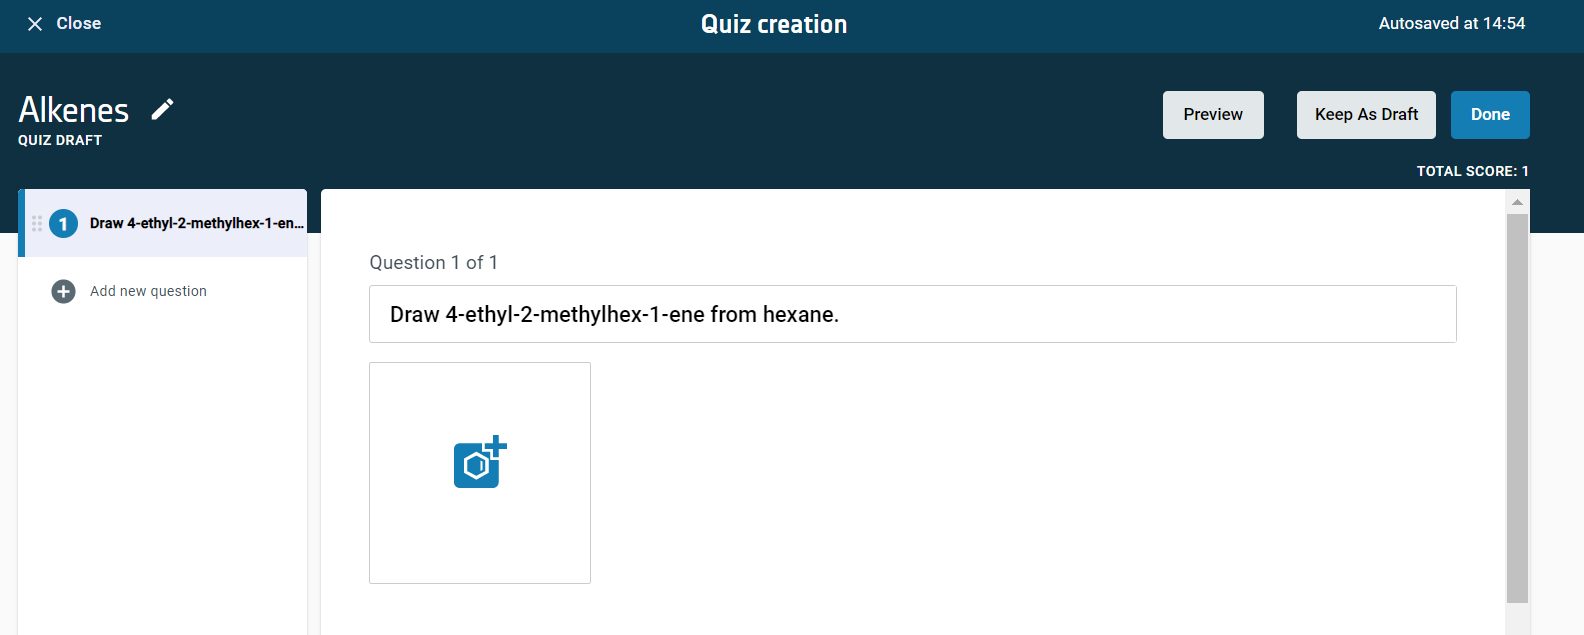
Go to Quizzes and select New Quiz in the top right corner.

- Type your question in first in the quiz editor. Please note that you can also draw structures and reactions that will show up for your students as part of the question.
- Then choose an answer type which can either be Structure, Text or Multiple Choice.
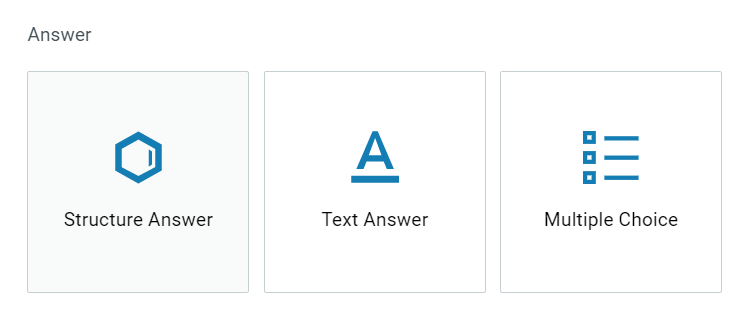
- Provide your correct answer. This will be used as a solution key when checking student responses automatically.
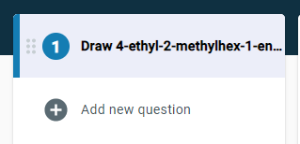
- Continue adding more exercises with Add new question.
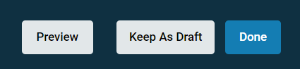
- Use the Preview button to check how the student will see your questions. If you have not finished editing your quiz, click Keep as Draf t and return later to modify or extend it. Click Done if you are ready with your quiz and would like to share it with your students.
Need more help with your quiz creation? Please check out our videos that shows how to use the different question types!
Structure Answer: https://www.youtube.com/watch?v=YnIo3dgAjto
Reaction based Exercises: https://www.youtube.com/watch?v=dnsu4YbU5Vg
Text Answer: https://www.youtube.com/watch?v=1klxRqNdQEc
Multiple Choice: https://www.youtube.com/watch?v=GLq31v16OdU
Information to share with your students
Depending on how you communicate with your students, you may want to provide them a short manual on how to use Zosimos at first. Please see below for an example that might be included in e.g. a course sylabus. Please replace the link in Step 1 and 4 with your specific Student invitation link copied from the Students tab of your Class. Step 5. is optional, please remove it or update it depending on your needs:
Instructions for students
Go to https://zosimos.io/see-a-studygroup/xxxxxxxxxxxxxxxxxxxxxxxx/x
Choose the Sign Up option to provide your email address and a new password to register into Zosimos.
You will receive a verification email to the provided email address. Please click on the Confirm my account link.
You can enter the classroom now with https://zosimos.io/see-a-studygroup/xxxxxxxxxxxxxxxxxxxxxxxx/x .
Optional: Provide your name / identifier by clicking on your Profile picture in the top right corner and selecting Profile settings.
Any questions? Please email our team at zosimos-support@chemaxon.com and we will be happy to help you!